
Quick Links
Overwatch 2’s Perk system means your favorite Damage heroes are a whole lot deadlier — or at least, they can be if you pick the right upgrades. With Perks that boost mobility, crank up damage, or even add a little self-healing, there’s a lot to choose from.
Overwatch 2: Best Perks For All Support Heroes
Pick the right Perks, and you’ll go from 'healer' to 'hero'.
We’ve sifted through the options to highlight the best Major and Minor Perks for every DPS hero, so you don’t have to waste time on duds. Whether you’re looking to make Widowmaker even slipperier, turn Mei into a walking blizzard, or just reload faster on Cassidy, this guide has you covered. Let’s make those eliminations hurt.
Best Damage Minor Perks
Minor Perks may not drastically change a damage hero's playstyle, but they provide valuable enhancements that can improve consistency, survivability, or utility.
|
Hero |
Best Minor Perk |
Why? |
|---|---|---|
|
Ashe |
Rapid Fire - Unscoped shots fire faster but deal a little less damage. |
The increased fire rate makes Ashe more of a sustained damage threat. Since this Perk reduces the need for scoping in, you'll have more opportunities to throw and detonate Dynamite. |
|
Bastion |
Armored Artillery - Entering Artillery mode grants 300 temporary overhealth. |
Improves Bastion’s survivability while using his ultimate. The other Perk is more situational. |
|
Cassidy |
Quick Draw - Fan the Hammer shots are manually controlled and can land critical hits, dealing 50% more damage. |
Gaining precision over Fan the Hammer makes Cassidy far deadlier in close-range fights. The ability to land headshots with this burst attack boosts his damage potential and makes him more effective against tanky or fast-moving targets. |
|
Echo |
Enhanced Duplication - The first ultimate used during Duplicate extends its duration by a few seconds. |
While the alternative Perk provides flexibility, extending Echo's Duplicate is a direct buff to her strongest ability. |
|
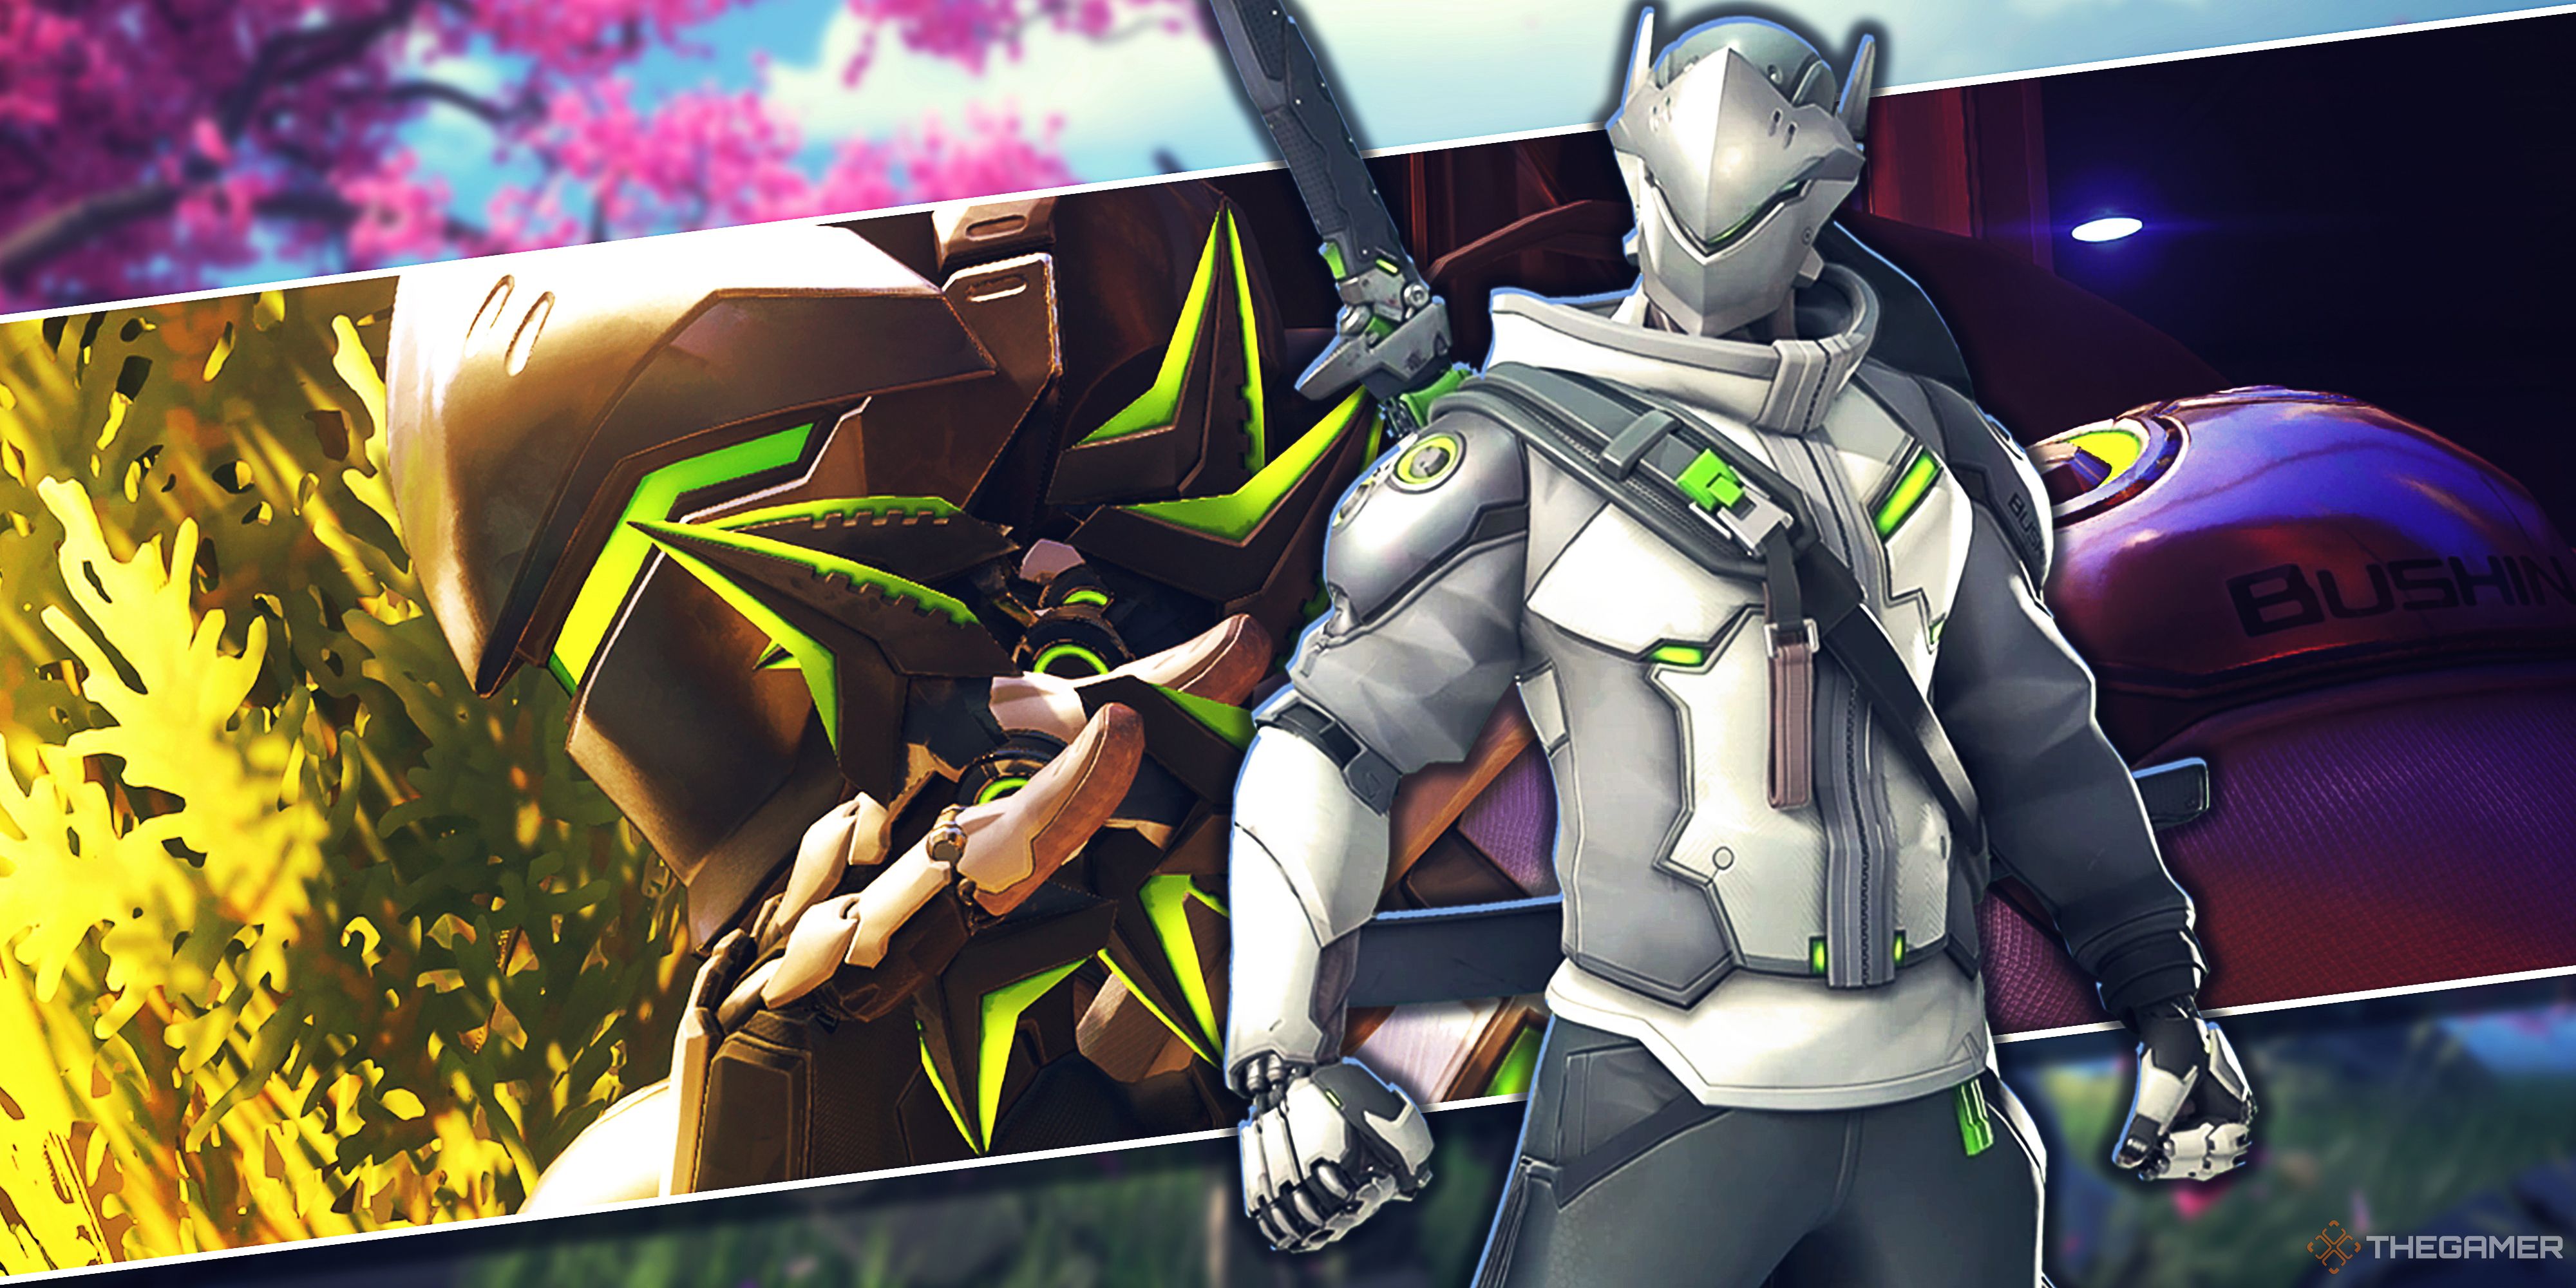
Genji |
Dragon’s Thirst - Each Dragonblade slash heals for part of the damage dealt. |
Genji becomes significantly harder to take down while using his ultimate, allowing him to stay aggressive and cut through enemies more effectively. |
|
Hanzo |
Scatter Arrows - Storm Arrows split into three smaller projectiles on their first ricochet, bouncing two extra times. |
A callback to Hanzo’s old Scatter Arrow ability, this Perk adds extra damage potential when fighting in tight spaces. |
|
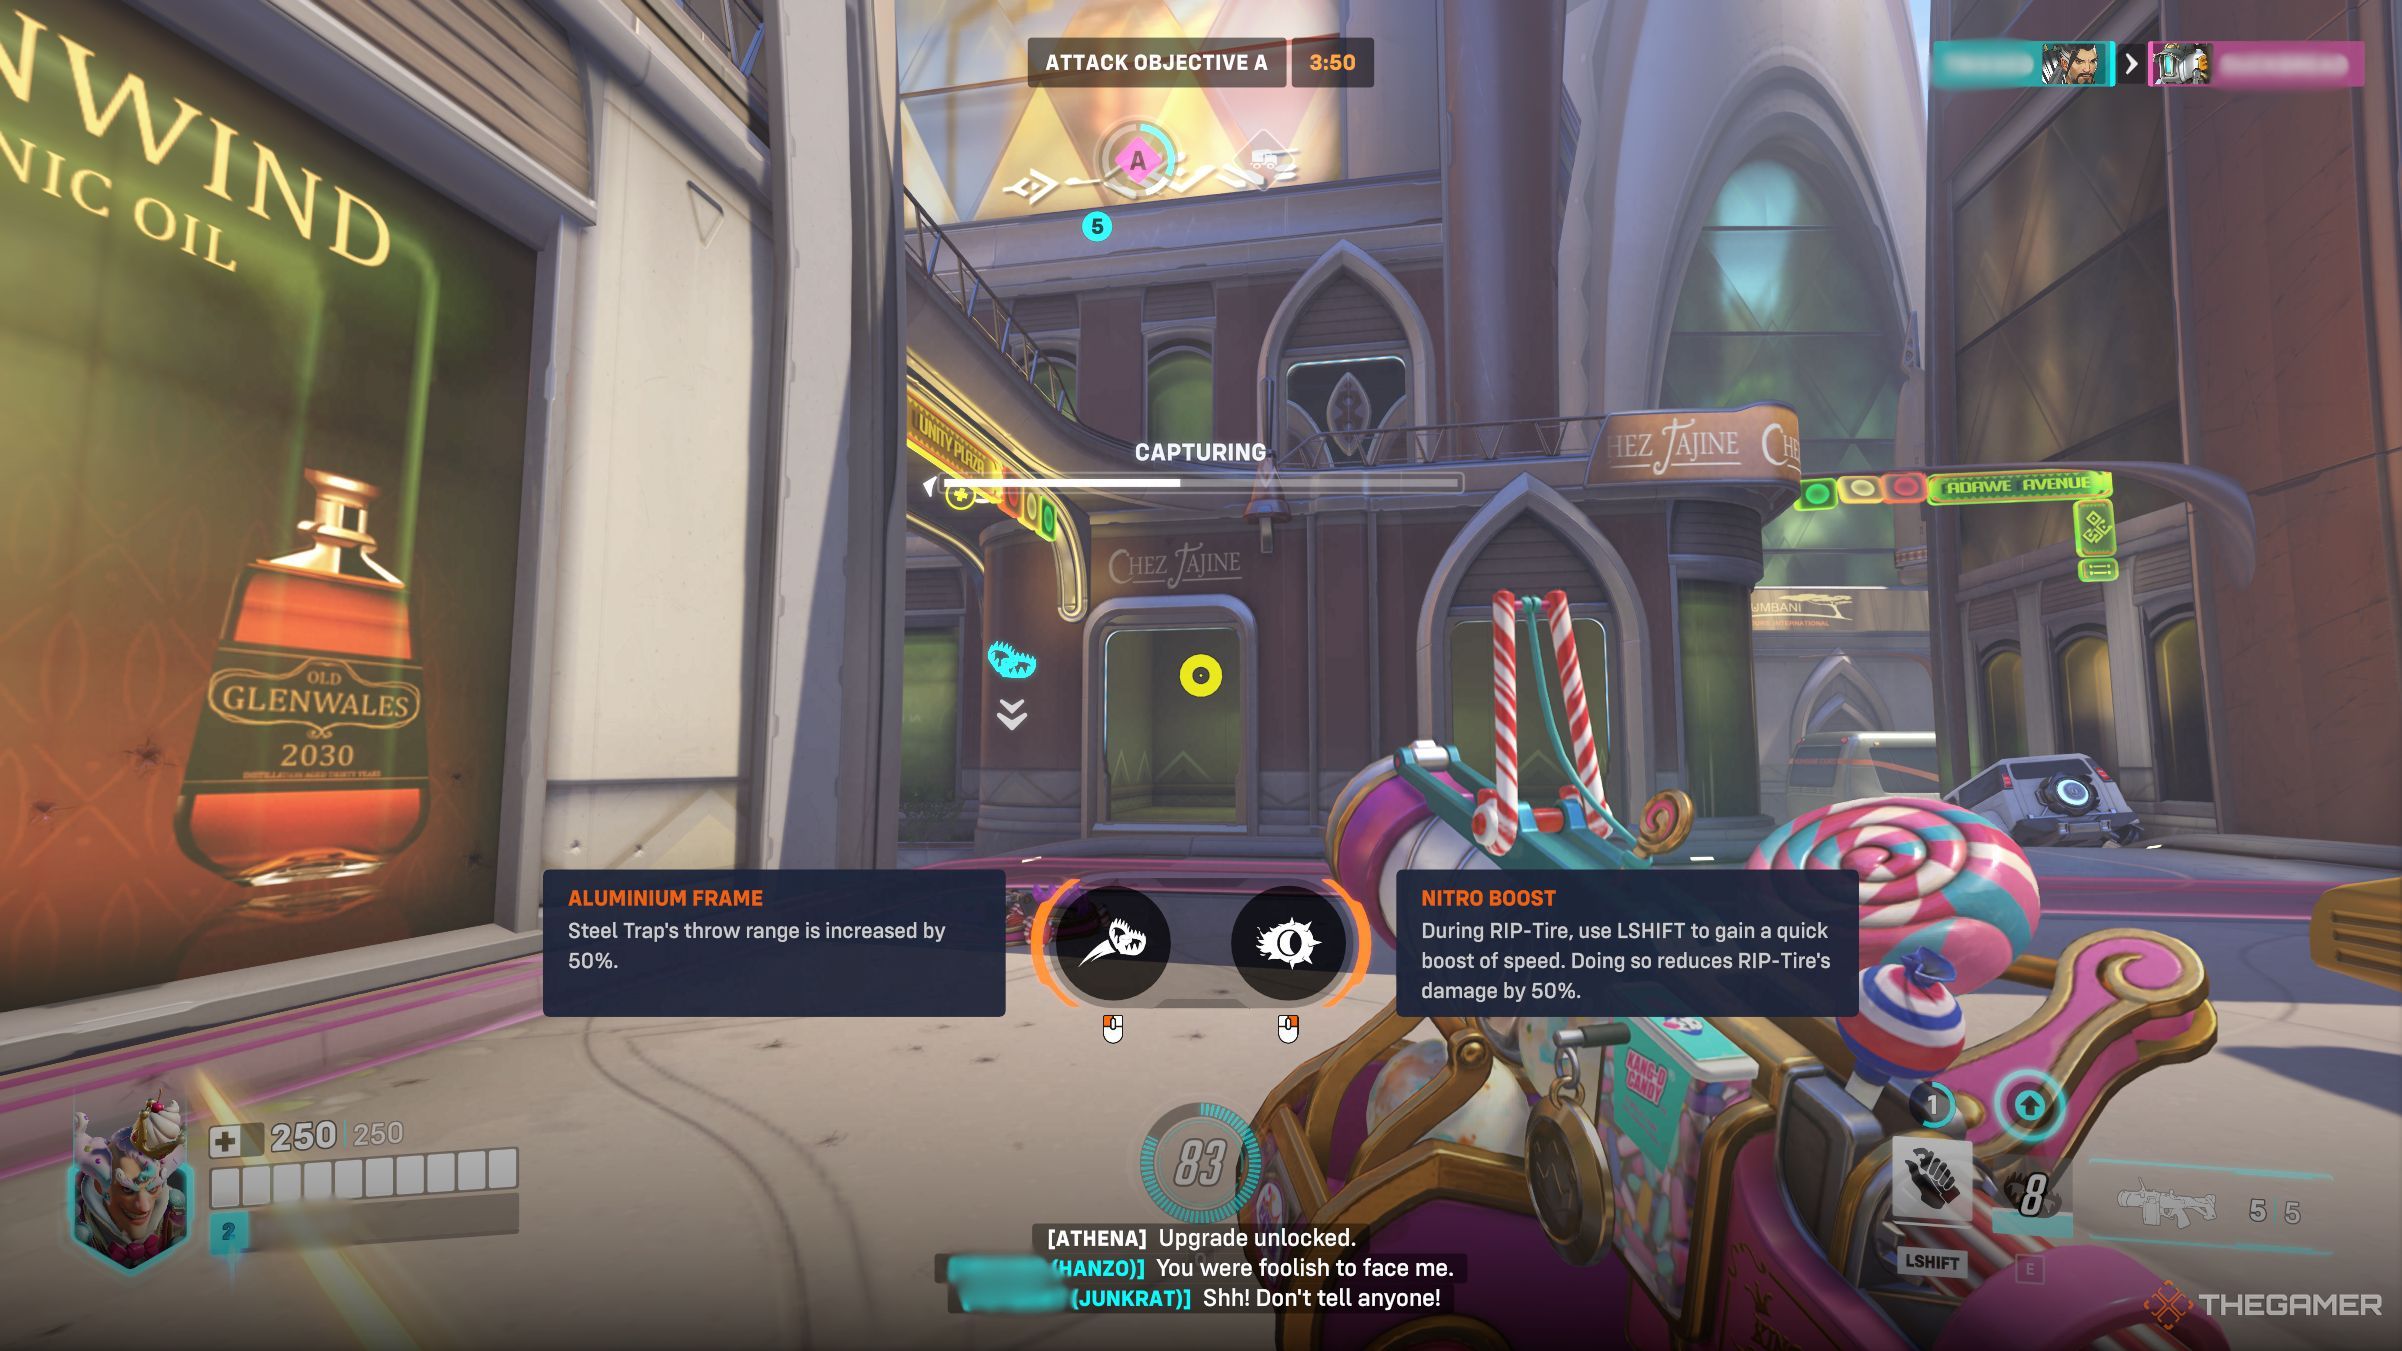
Junkrat |
Nitro Boost - RIP-Tire can be manually boosted forward, but its explosion damage is reduced. |
The ability to speed up RIP-Tire makes it harder to counter and allows it to reach targets that would normally escape. |
|
Mei |
Chilling Reach - Increases the range of Mei’s primary fire. |
This upgrade allows Mei to freeze enemies from farther away, making her more effective at controlling space. |
|
Pharah |
Helix Shields - Converts some of of Pharah’s health into shields. |
Since shields regenerate naturally, this Perk gives Pharah built-in sustain. It reduces her reliance on healers and makes her more durable while repositioning or poking from range. |
|
Reaper |
Death’s Shadow - Shadow Step reloads Reaper’s shotguns and increases its range. |
Keeps Reaper’s weapons ready to go after teleporting, allowing him to immediately engage enemies. The range boost also helps in mid-range fights where Reaper usually struggles. |
|
Sojourn |
Overcharged - While Overclock is active, Railgun’s maximum energy is increased |
Since Overclock allows Sojourn to fire charged Railgun shots more frequently, increasing her max energy pool means more high-damage shots during her ultimate. |
|
Soldier: 76 |
Field Emergency - Biotic Field’s healing is doubled when used on critically injured allies. |
Strengthens Soldier: 76’s sustain and makes his healing ability more clutch in dangerous situations. |
|
Sombra |
Viral Efficacy - If an enemy dies while affected by Virus, the cooldown of Virus is reduced by a few seconds. |
Rewards finishing off infected enemies, increasing Sombra’s uptime on her key damage ability and allowing her to maintain pressure in fights. |
|
Symmetra |
Sentry Capacity - Gains an extra Sentry Turret charge. |
Symmetra’s turrets are her primary zoning tool, so having an additional one means more area denial and increased overall damage output. |
|
Torbjorn |
Fully Loaded - Using Overload instantly refills Rivet Gun’s ammo. |
Improves Torbjorn’s sustain in fights, allowing him to maintain pressure without stopping to reload. |
|
Tracer |
Blink Packs - Picking up a health pack restores one Blink charge. |
Since Tracer’s playstyle revolves around mobility and hit-and-run tactics, regaining Blink charges from health packs allows her to stay elusive and avoid getting pinned down. |
|
Venture |
Seismic Sense - While burrowed, Venture can detect enemies within a range. |
Awareness is crucial in fights, and this Perk allows Venture to scout enemies before surfacing, leading to better ambushes and safer repositions. |
|
Widowmaker |
Focused Aim - While Infra-Sight is active, scoped shots charge faster. |
Makes Widowmaker’s ultimate far deadlier by allowing her to fire charged shots more frequently. Faster shots mean more potential eliminations while the ability is active. |
Best Damage Major Perks
Damage heroes excel at dealing high amounts of damage, securing eliminations, and applying pressure to the enemy team. The right Major Perk can enhance their offensive capabilities, improve their survivability, or provide additional utility.
|
Hero |
Best Minor Perk |
Why? |
|---|---|---|
|
Ashe |
Airburst - While in the air, Dynamite’s explosion radius is increased, and throwing it refunds ammo. |
The increased radius makes Dynamite more reliable for dealing AoE damage, hitting multiple enemies more consistently. The ammo refund helps maintain pressure, ensuring Ashe has more shots available in extended fights. |
|
Bastion |
Self-Repair - Heal yourself over time. |
Bringing back Bastion’s OW1 self-heal provides him with more self-sustain, allowing him to survive fights longer. |
|
Cassidy |
Gun Slingin’ - Critical hits with primary fire reduce Combat Roll’s cooldown. |
This allows Cassidy to roll more frequently, making him harder to hit and letting him reload his revolver more often. |
|
Echo |
Full Salvo - Sticky Bombs fire more projectiles, but each bomb deals a bit less damage. |
Despite the damage reduction, the sheer number of projectiles makes this Perk incredibly strong, especially against tanks and grouped enemies. More explosions also mean a higher chance of securing kills. |
|
Genji |
Meditation - While Deflect is active, Genji regenerates health. |
This gives Genji a mini-heal while using Deflect, allowing him to survive longer in fights. Since Deflect is often used in high-risk situations, the added sustain can be the difference between life and death. |
|
Hanzo |
Dragon Fury - Hitting an enemy with primary fire increases attack speed for 1 second. |
This greatly increases Hanzo’s burst damage potential, letting him land faster follow-up shots. The speed boost also makes it easier to secure eliminations before enemies can react or escape. |
|
Junkrat |
Frag Cannon - Frag Launcher projectiles travel faster but hold one less round. |
Faster projectiles make hitting moving targets much easier, significantly improving Junkrat’s effectiveness at mid-range. Losing one grenade is a minor trade-off considering how much more reliable his damage becomes. |
|
Mei |
Cryo-Storm - Cryo-Freeze slows and damages nearby enemies. |
This turns Mei’s defensive ability into a dual-purpose tool. |
|
Pharah |
Concussive Implosion - Concussive Blast now pulls enemies inward instead of pushing them away. |
This completely changes how Concussive Blast functions, allowing Pharah to cluster enemies together for devastating Barrages. |
|
Reaper |
Dire Triggers - Fire a long-range, accurate volley from both Hellfire shotguns. |
This extends Reaper’s threat beyond just close-range combat, making him more versatile. |
|
Sojourn |
Adhesive Siphon - Disruptor Shot sticks to enemies and generates Railgun energy when dealing damage. |
This increases Sojourn’s Railgun charge rate while making Disruptor Shot more punishing. It allows her to build up high-powered shots faster, maintaining strong damage output. |
|
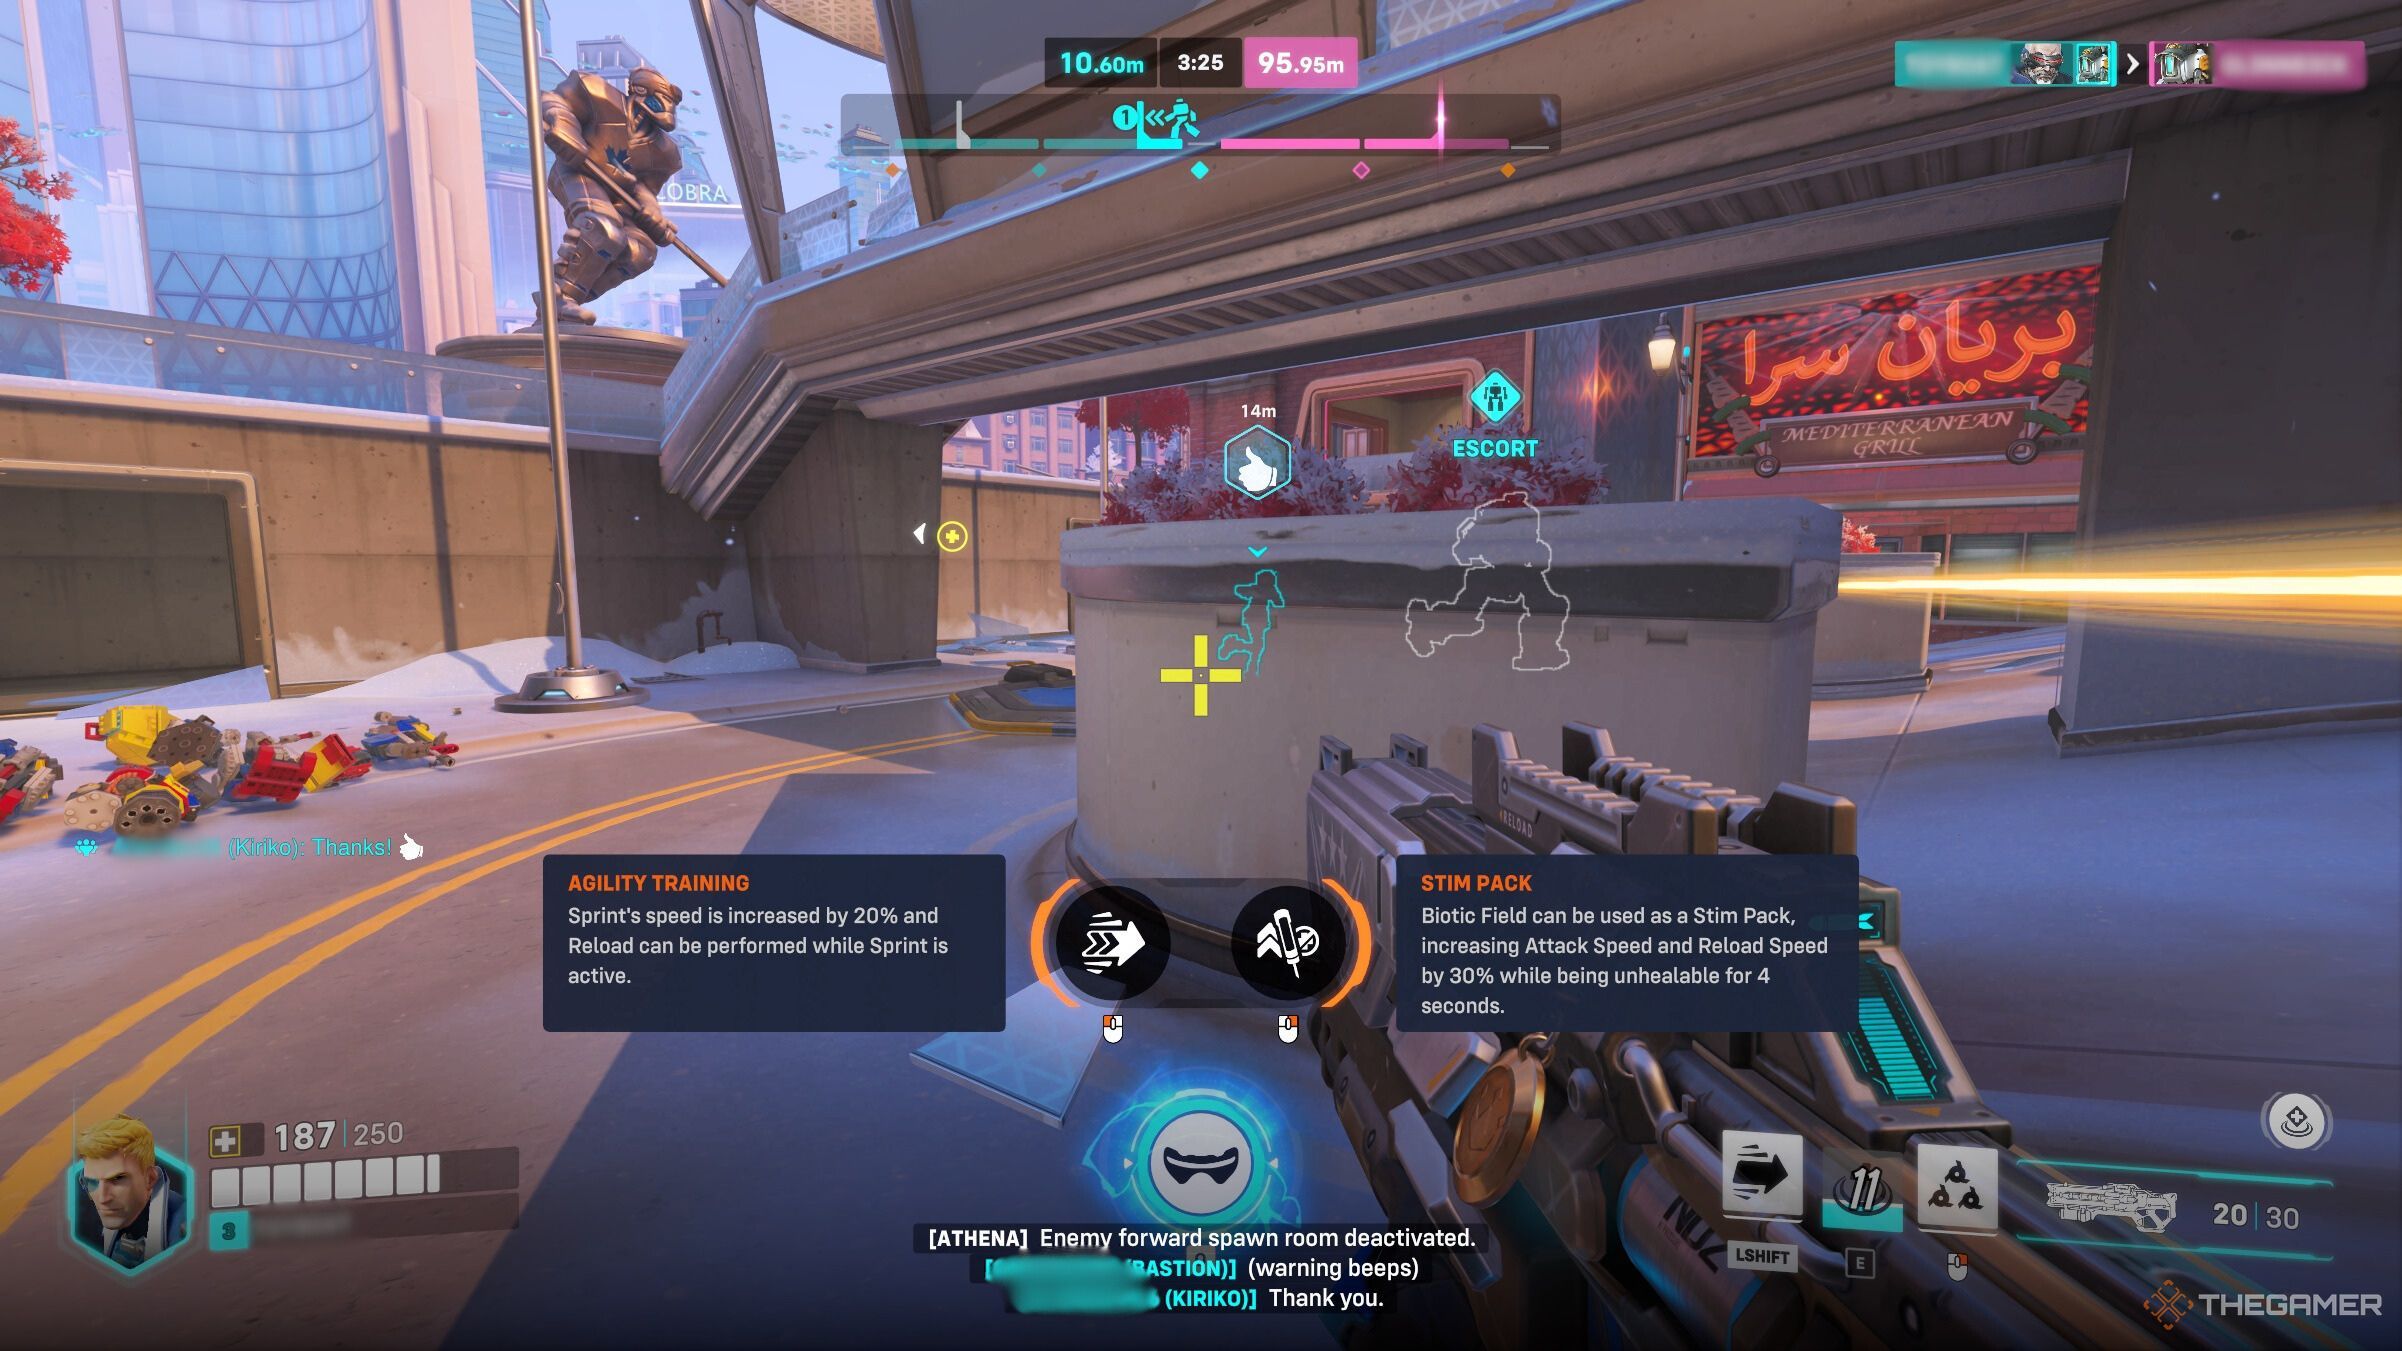
Soldier: 76 |
Stim Pack - Biotic Field can be used as a Stim Pack, increasing attack and reload speed while being unhealable for a few seconds. |
This gives Soldier an offensive option instead of healing, making him a high-risk, high-reward damage dealer. |
|
Sombra |
White Hat - Hack can be used on allies to restore health. |
While primarily a DPS hero, this Perk allows Sombra to provide some support utility, giving her more versatility in team fights. |
|
Symmetra |
Perfect Alignment - Primary fire’s range increases with each charge level. |
This significantly improves Symmetra’s viability in fights, allowing her to engage from a safer distance. It also helps her ramp up damage more consistently without needing to be right on top of enemies. |
|
Torbjorn |
Overloaded Turret - Overload buffs your Turret for a few seconds, increasing its health and damage. |
Enhances Torbjorn’s defensive and offensive capabilities by making his turret much more dangerous when Overloaded, providing extra burst damage during key fights. |
|
Tracer |
Flashback - Recall restores all Blink charges. |
This makes Tracer’s already impressive mobility even stronger. It allows her to reset her positioning completely, giving her more survivability and better options for escaping or re-engaging. |
|
Venture |
SMART-R Excavator - SMART Excavator’s range increases. |
It increases her ability to poke from a distance while still dealing solid damage. |
|
Widowmaker |
Escape Plan - Scoped shot hits reduce Grappling Hook cooldown. |
This Perk rewards Widowmaker for landing shots by allowing her to reposition more often. |
Overwatch 2: Best Perks For All Tank Heroes
Tanks are built to last, and these perks make sure of that.